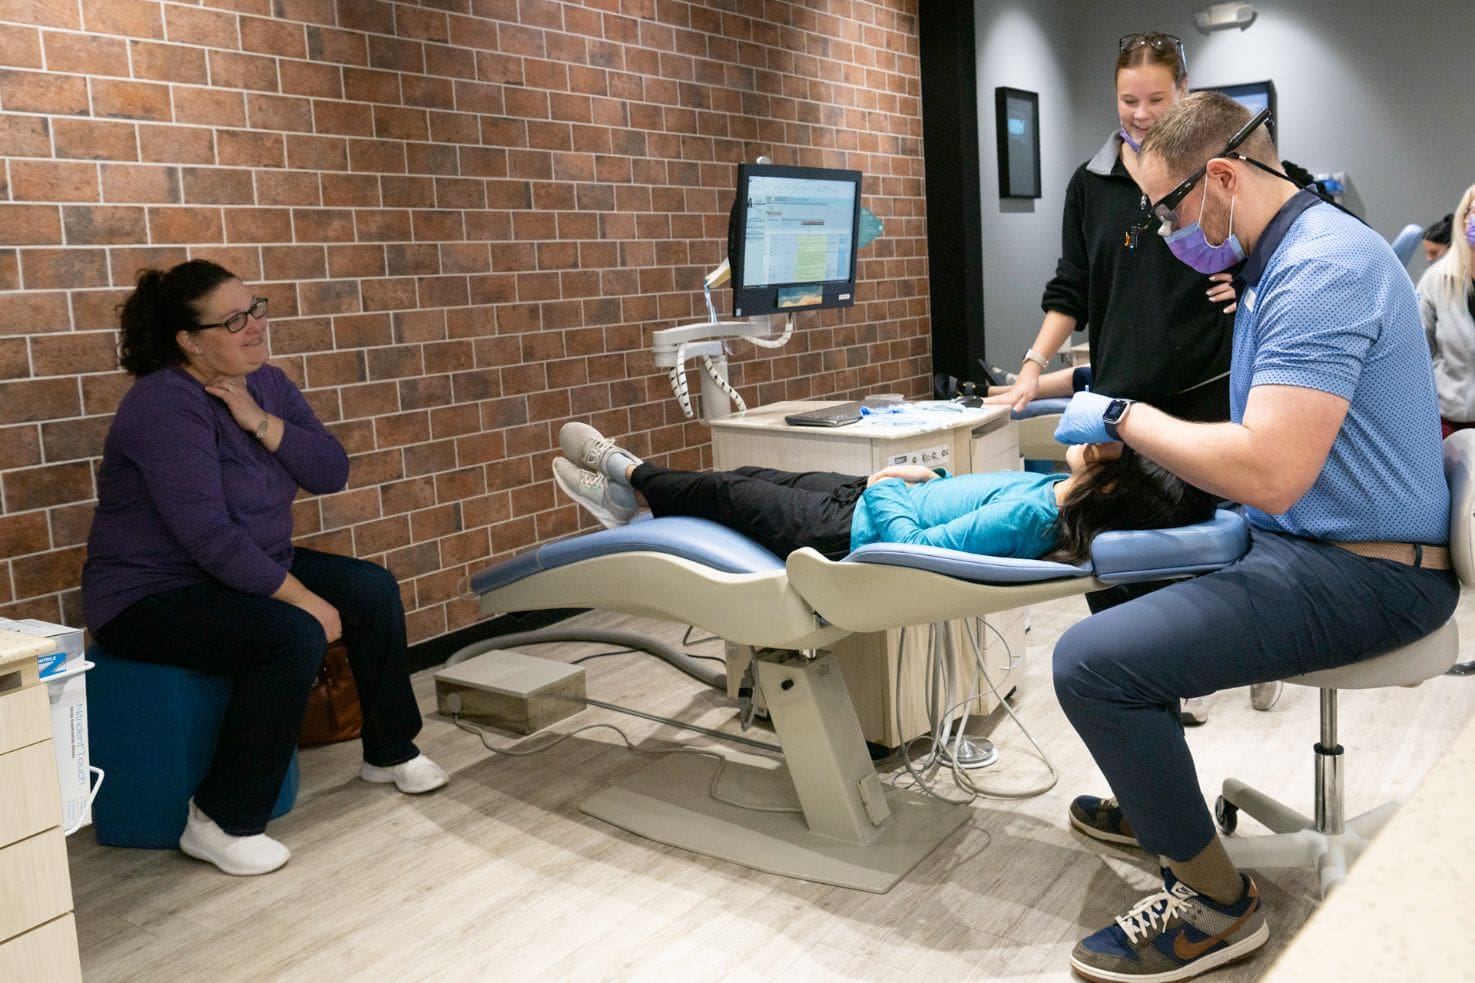
Invisalign has become a household name, as patients increasingly seek it out to accommodate their lifestyles. They expect the same results from Invisalign as they would get from traditional braces, which places a responsibility on clinicians to master this system to achieve optimal outcomes. If you lack the proficiency to handle complex movements with Invisalign, you risk losing potential patients. After all, patients aren’t fond of hearing “no” and will seek out someone who can fulfill their requests. Fortunately, I can assist you improve your Invisalign results.
As a board-certified orthodontist with years of experience delivering successful Invisalign results in Souderton, PA, I have encountered several challenging movements with this system, identifying five notable ones. Below, I present these movements in increasing order of difficulty, along with tips to enhance your chances of success with Invisalign. Feel free to use the following suggestions when communicating with your Invisalign lab technician.
1. Achieving Root Parallelism
When there is a gap between two teeth that you wish to close, the crowns of the teeth may tend to tip toward each other. This often occurs when closing a large diastema or lower incisor extraction space. To prevent the crowns from tipping and to ensure root parallelism, it's crucial to address the root movements first. I typically convey this to the technician as follows:
"Please perform a 15-degree virtual gable bend between teeth ___ and ___ before attempting to close the space."
Alternatively, you can say:
"Please tip the roots of teeth ___ and ___ toward each other before attempting to close the space."
2. Lateral Incisors Not Tracking
If you treat enough cases with Invisalign, you will notice that lateral incisors do not track very well. The best solution is to always include a "4 mm horizontal gingival beveled attachment" for the lateral incisors. This increases the surface area, which enhances the chances of the tooth remaining in the aligner. Furthermore, when attempting to extrude incisors, it’s essential to do it in two steps, a process known as multi-vector movement, which increases the likelihood of success:
"Please extrude tooth ___ by first proclaiming it labially and creating 0.2 mm of space mesial and distal to the contact. Next, extrude and retract the tooth into position until ___."
3. Posterior Open Bites
Many clinicians attempt to address posterior open bites by cutting the trays distal to the canines. While this may sometimes yield results, often, a posterior open bite is actually due to heavy anterior contacts. It’s crucial to pay careful attention to the labial-lingual inclination of the upper incisors. If these incisors are too upright, the patient will contact them first in Centric Relation (CR), resulting in a lack of posterior contact and an unstable bite. When addressing incisor angulation, it’s advisable to over-engineer:
"Please perform an additional 10 degrees of palatal root torque to the upper incisors."
Your final ClinCheck should exhibit some excess overjet to help prevent heavy anterior contact that leads to posterior open bites. Also, be mindful of your overbite and resolve this as a priority.
4. Deep Bites
Invisalign recognized the challenges of correcting overbites years ago and has made several advancements since. I find that with brachyfacial patients who have heavy musculature and square jawlines, using wires and brackets to correct their malocclusion is most effective. Regardless of the chosen appliance, the biomechanics remain the same. Typically, the upper incisors are adequately positioned vertically, while the lower arch exhibits an excessively deep curve of Spee. Moreover, a short lower third of the face allows for an increase in vertical dimension. I communicate this to the technician with:
"Please level the lower curve of Spee by extruding the lower premolars 2 mm relative to the occlusal plane. Ensure that the final stage shows a reverse curve of Spee in the lower arch, with the lower incisors intruded 2 mm relative to the premolars and the canines 1.5 mm relative to the premolars."
Once again, over-engineering is critical. The final stage of the ClinCheck should reveal a slight open bite at the front. If it does not, make sure to request it, as anterior open bites are rarely seen clinically.
5. Rotated Premolar Teeth
This is, by far, the most challenging movement I have encountered with plastic. I still utilize limited buttons and chains to aid in rotating premolars before scanning for Invisalign. While I’ve heard of other clinicians using the following technique:
"Please create 0.2 mm of space mesial and distal to premolar tooth ___ before attempting to rotate the tooth."
While I haven’t personally adopted this method, it seems practical. Increasing the surface area mesial and distal to the tooth you want to rotate and using the appropriate attachment can be beneficial.
I hope you find value in this guidance on improving your results with Invisalign. There are indeed challenging movements associated with Invisalign or any clear aligner. However, employing the techniques outlined above can significantly enhance your success rate. If you have any questions about improving your Invisalign results, feel free to reach out!